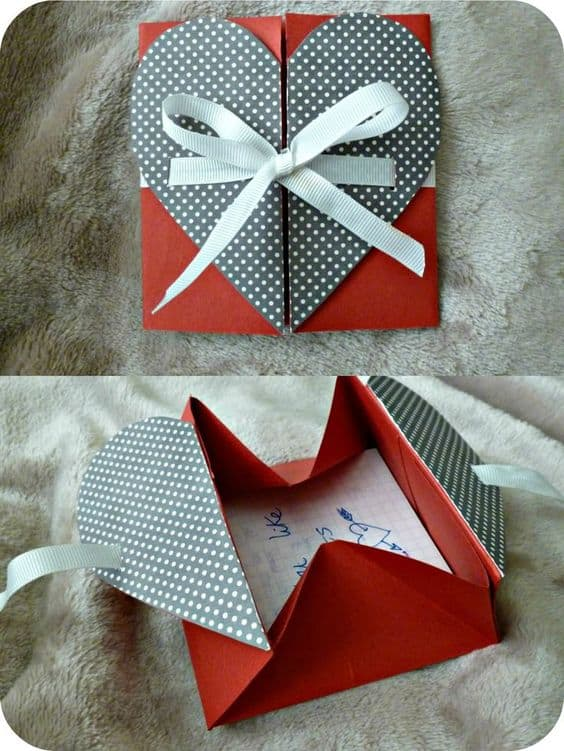
When it comes to gifting jewelry, presentation is just as important as the jewelry itself. A well-crafted jewelry gift box can elevate the entire experience, making the recipient feel truly special. Creating a jewelry gift box can be a fun and rewarding project, and the best part is that you can Customize Jewelry Box the preferences of the recipient. In this guide, we’ll walk you through the steps to make a beautiful jewelry gift box that will leave a lasting impression. Let’s get started!
Materials You’ll Need
Before diving into the steps, gather the following materials:
- Cardboard or chipboard: For the box’s structure.
- Decorative paper or fabric: To cover the box and add a personal touch.
- Glue: A strong adhesive to hold everything together.
- Scissors and a craft knife: For cutting materials.
- Ruler and pencil: For precise measurements.
- Ribbon: For added decoration and securing the box.
- Felt or foam: To create a soft lining inside the box.
- Embellishments: Such as beads, sequins, or stickers to personalize your jewelry gift box.
Step-by-Step Guide to Making a Jewelry Gift Box
1. Design Your Box
Start by deciding the size and shape of your jewelry gift box. Consider the piece of jewelry you’ll be placing inside. Will it be a ring, a necklace, or a pair of earrings? Once you have a clear idea, sketch out the dimensions on paper. For a standard ring box, you might want to create a box that is about 2 inches wide, 2 inches deep, and 1.5 inches tall.
2. Cut the Cardboard
Using your measurements, cut out pieces of cardboard or chipboard for the base, lid, and sides of your box. You will need:
- One piece for the base.
- One piece for the lid (slightly larger than the base to fit over it).
- Four pieces for the sides (two for the width and two for the depth).
3. Assemble the Box
Glue the side pieces to the base piece, ensuring they are aligned properly. Hold them in place until the glue dries. Once the sides are attached, glue the lid piece to the top of the sides. You should now have a basic box structure.
4. Cover the Box
Choose a decorative paper or fabric that matches the theme of your gift. Cut pieces of your chosen material to cover the outside and inside of the box. Carefully glue the material to the box, smoothing out any wrinkles or bubbles. Allow the glue to dry completely before moving on to the next step.
5. Create the Lining
Cut a piece of felt or foam to fit inside the box. This will provide a soft cushion for the jewelry. Glue the lining to the bottom and sides of the box interior. If you’re making a ring box, you can create a small slit in the foam to hold the ring securely in place.
6. Add Embellishments
Now comes the fun part – personalizing your jewelry gift box! You can add embellishments such as ribbons, beads, sequins, or stickers to make the box unique. For a sophisticated look, you might want to use metallic or glittery accents. For a more rustic charm, consider using natural elements like dried flowers or twine.
7. Secure the Box
To keep the box closed, you can add a ribbon or string. Simply glue one end of the ribbon to the bottom of the box, wrap it around, and tie a bow on top. This adds a decorative touch and ensures that the box stays securely closed.
Tips for Customizing Your Jewelry Box
- Personal Touches: Adding the recipient’s initials or a special date can make the gift even more meaningful.
- Color Coordination: Choose colors that complement the jewelry inside. For example, a gold necklace might look stunning in a deep blue or emerald green box.
- Themed Designs: If the gift is for a special occasion like a birthday or anniversary, consider incorporating elements that reflect the theme, such as balloons, hearts, or stars.
Why Customize a Jewelry Box?
Customizing a jewelry box adds an extra layer of thoughtfulness to your gift. It shows that you took the time and effort to create something unique and personal. A customized jewelry box can also serve as a keepsake that the recipient will cherish long after the jewelry has been worn. It’s a wonderful way to make your gift stand out and be remembered.
Conclusion
Making a jewelry gift box is a delightful way to enhance your gift-giving experience. With a few materials and a bit of creativity, you can create a beautiful, customized jewelry box that will make your gift unforgettable. Whether you’re gifting a ring, necklace, or earrings, a personalized jewelry gift box adds that extra special touch that shows how much you care. So, gather your materials, follow these steps, and have fun crafting your own unique jewelry gift box. Happy gifting!
Remember, when it comes to giving jewelry, presentation matters just as much as the gift itself. By creating a custom jewelry box, you’re not just giving a piece of jewelry – you’re giving a piece of your heart.