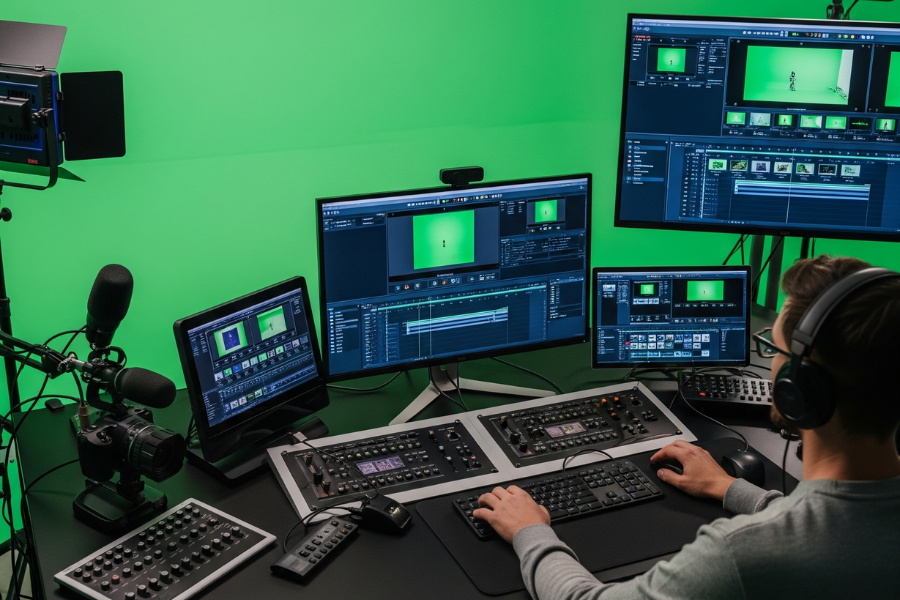
There are two types of film lovers. One consumes all the information, knowledge, and everything to run life and get entertained. The other creates everything to provide a system, service, and entertaining stories in the form of Art. This Art can be in any form, like a poem, a painting, or a video, to showcase the depth of reality in the form of a story. These visual stories must be shot with precision and detail. But you don’t need to get everything as imagined during the shoot. That is why technology plays an essential role in post-production to create background visuals and other elements. There are many independent filmmakers with stories waiting to finish their film, and they want to make their film look like they were shot in a real location instead of a studio. Such technology isGreen Screen Remover, in which you can remove green screen from video in minutes and achieve a polished, professional look that grabs attention.
Let us understand where this technique is used and the tools to achieve a smooth and crisp final product.
The Green Screen Remover Technique is Used in:
1. YouTube videos
2. Online courses
3. Product demos
4. Virtual meetings and webinars
5. Social media content
6. Films and commercials
Why Remove Green Screen from Video?
The use of a green screen opens up a world of creative possibilities, but only if the background can be removed professionally and cleanly. When you remove the green screen from a video properly, you can instantly change your scene or setting, add branded or informative backdrops, create virtual environments without expensive sets, boost production value without big budgets, and keep your audience focused on you or your content. A sloppy keying job can distract viewers and reduce your video’s impact. For this reason, producing content of high quality necessitates the use of a dependable green screen background editor.
Tools Used to Remove Green Screen from Video
Green Screen Remover features can be found in a variety of video editing platforms and tools, both basic and sophisticated. Here are some well-known ones:
Adobe Premiere Pro
Final Cut Pro
Camtasia
iMovie
CapCut
Unscreen / Remove.bg
Quick Steps to Make Your Videos Look Pro
1. Shoot your video properly in a green screen studio, as your script demands.
2. Import the footage into an editing software.
3. Remove background with Green Screen Remover and adjust tolerance and edge smoothness.
4. Add your new background according to your requirement. It can be periodic, fantasy, or some aesthetic location. You can also add moving elements and CGI characters.
5. The last process is to render your high-quality video and publish it across YouTube, social media, or your website.
Pro Tips for Flawless Green Screen Editing
1. You must use even lighting on the background to avoid shadows during the shoot.
2. You must avoid green or any kind of reflective clothing. It can cause problems during editing as all the green color will be removed.
3. You ensure to shoot your project in HD or 4K for better keying precision.
4. Add depth using a blur effect or lighting to match the new background. It will help the editor to work on every little detail.
These methods can quickly transform even low-budget videos into high-end productions.
Get The Green Screen Background Editor
If you’re ready to remove green screen from your videos and wow your audience, start looking into the best green screen background editor right now. Using a green screen remover can significantly improve the quality of your videos for brand creation. It’s quick, efficient, and allows you to create an infinite number of creative backdrops.
